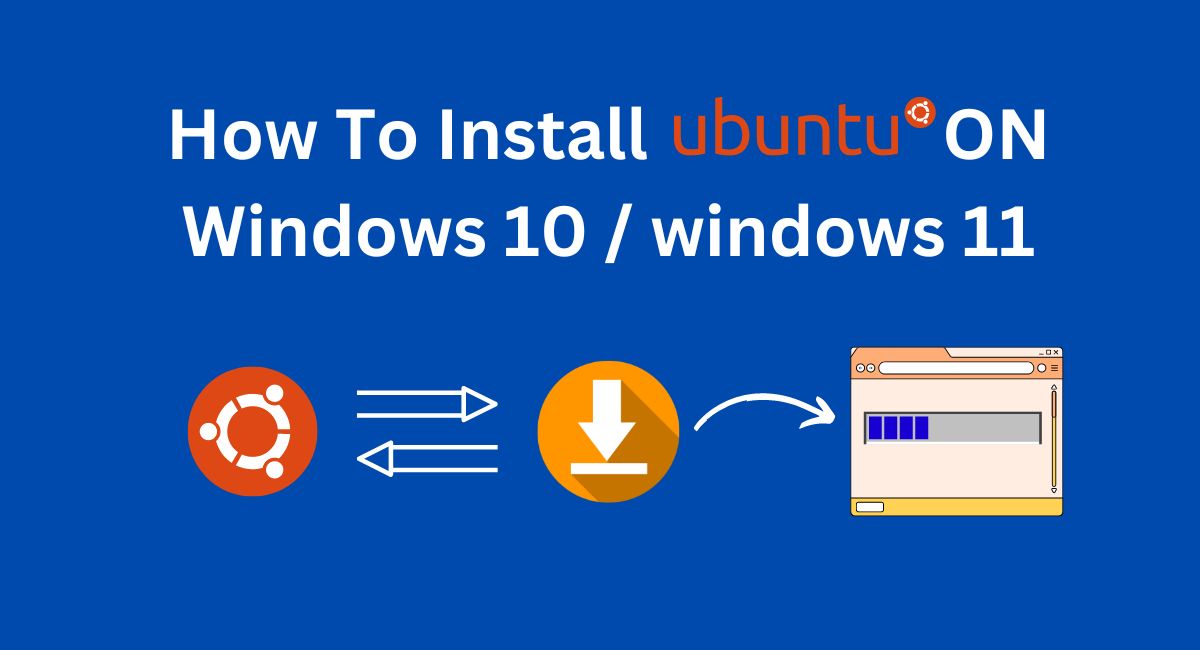
In this Guide, We will Talk about How you can Install Ubuntu on Windows 10 and windows 11. Follow the step-by-step process and Install Ubuntu on Windows 11.
What is Ubuntu?
Ubuntu is a free, open-source operating system with millions of users that is based on the Debian Linux distribution. This is a user-friendly distribution of commercial products designed to increase computer usage. It was created to greatly expand technology in smartphones, desktops, and network servers and has received widespread recognition.
Its success is boosted by Canonical Ltd’s strong support, which ensures a better user experience. Ubuntu’s pedigree, creativity, and corporate backing make it a top choice for those looking for a dependable and flexible operating system. It is ideally suited for cloud computing and has good support for the OpenStack.
The operating system works with any hardware or virtual platform, is widely used in cloud computing, and is the most popular cloud operating system. Ubuntu is intended for professionals and its installation does not require any technical expertise; it is even easier than Windows, and it is also simple to use, which is why this operating system is appealing to beginners. Ubuntu, like many Linux distributions, can be used on both servers and desktops, and it comes in two kinds: Desktop Edition and Server Edition, with the former intended for usage on PCs and the latter for server installation.
What is Linux?
Linux is an operating system, much like Windows is. The word “operating system” refers to the software that functions as a layer between a computer’s hardware and the programs that we all use every day. When programmers create apps, they interact with the operating system to conduct operations such as writing files to the hard drive and showing data on the screen. Without an operating system, all programmers would have to generate code to directly access the device’s hardware.
Furthermore, the programmer would need to be able to support every piece of hardware ever built in order to ensure that the application works on every potential hardware combination. Because the operating system manages all of the hardware complexities, application development becomes considerably easier. Linux is simply one of several operating systems accessible today.
Who created Linux?
Linux, a free and open-source operating system, was created by Linus Torvalds and Richard Stallman. Torvalds created the kernel, which manages the system’s resources and facilitates communication between hardware and programs. He distributed the kernel via an open-source license, allowing anyone to access and modify it without paying. Stallman, a supporter of free and open-source software, developed his own open-source operating system, which included tools, utilities, and compilers.
He combined his work with Torvald’s kernel to create a whole operating system, which later became known as GNU/Linux. The kernel is responsible for managing the system’s resources and facilitating communication between hardware and programs.
History of Ubuntu
As previously said, Ubuntu is one of many Linux distributions. The Ubuntu Linux distribution’s source code is derived from Debian, a much earlier Linux distribution founded by two people named Debra and Ian. Debian is still a well-accepted operating system but was under controversy for irregular updates and less user-pleasant maintenance and installation (though both areas have shown improvement recently).
A South African internet entrepreneur (who made his fortune by selling his company to VeriSign for approximately $500 million) decided it was time for a more user-friendly Linux. He took the Debian system and began trying to make it more user-friendly, which he named Ubuntu. He eventually established a company called Canonical Ltd to market and offer support for Ubuntu Linux.
Along with this, Shuttleworth has formed and sponsored (to an amount of $10 million) a foundation to ensure the future of Ubuntu. The rest, as they say, was history. Since then, Ubuntu has grown in strength. Dell and other hardware manufacturers now ship gadgets pre-loaded with Ubuntu Linux.
Releases of Ubuntu
Ubuntu releases come in two flavors: LTS(Long Term Support) and Interim. In total, each Ubuntu LTS is supported for ten years: five years of ESM(Extended Security Maintenance)and five years of normal maintenance. For nine months, interim releases are kept up to date. Versions of Ubuntu releases are designated by the year and month of delivery, with the development codename being assigned to the release (for instance, Ubuntu 23.10, “Mantic Minotaur” was made available in October 2023).
Every two years, in April, LTS, or “Long TermSupport,” updates are released. The LTS editions of Ubuntu are the most popular and considered the “enterprise-grade” releases. Installs of Ubuntu LTS releases comprise about 95%of all installations. All packages in the “Main” repository are covered by routine security maintenance for five years with Ubuntu LTS versions.
Expanded Security Maintenance (ESM), which covers security updates for packages in both the “Main” and “Universe” repositories for ten years, is available to you with an Ubuntu Pro subscription. In addition, phone and ticket support is offered and can be added voluntarily to an Ubuntu Pro membership. It covers the same packages as are protected by ESM and is valid for the same amount of time.
Between LTS releases, Canonical releases an interim version of Ubuntu every six months; the most recent is version 23.10. These are production-quality versions that are not subject to the long-term commitment of long-term support (LTS) releases, but they are supported for nine months, giving users enough time to update. Some of the versions are 23.10 (Mantic Minotaur); 23.04(Lunar Lobster); 22.04 LTS (Jammy Jellyfish); 20.04 LTS (Focal Fossa); 18.04 LTS (Bionic Beaver);16.04 LTS (Xenial Xerus); 14.04 LTS (Trusty Tahr).
How to Install Ubuntu on Windows 10 / Windows 11
You’ll be glad to learn that Ubuntu can coexist with Windows without interfering with it if you’re a Windows 10/ Windows 11 user interested in learning more about Linux. For various reasons, or even to create cross-platform applications without ever leaving Windows, some users may wish to install Ubuntu on Windows 10/ Windows11PC. Then, they have access to the following techniques.
- 1. Use the Windows Subsystem for Linux (WSL).
- 2. Use virtual machine (VM) software, such as VMware.
- 3. Dual-boot Windows10/ Windows11 with Ubuntu.
Use the Windows Sub System for Linux (WSL)
Without the hassle of a conventional virtual machine or dual-boot configuration, developers may execute GNU/Linux tools—including the majority of command-line tools, utilities, and applications—directly on Windows thanks to the Windows Subsystem for Linux. WSL 2 is the most current version. How can I use WSL 2 to install Ubuntu on Windows 10/ Windows 11? You can make use of the guide that follows.
Step1:Install WSL first
a. Type “turn Windows features on or off” into the Windows Search box, click the relevant app, and enjoy.
b. To check the boxes for Windows Subsystem for Linux and Virtual Machine Platform, scroll down. Click OK after that.
c. If required, restart your computer.
Step 2:Get the Linux kernel version kit and install it
a. The WSL2 Linux kernel version kit can be downloaded for x64 systems. Microsoft provides the download link.
b. To finish the setup, use this utility.
Step 3:Install Ubuntu on Windows 11 and 10
a. Try searching for Ubuntu on the Microsoft Store.
b. To obtain it, choose an Ubuntu edition. Ubuntu can then be used and configured
Use virtual machine (VM) software, such as VMware.
Among the most often used virtual machine programs is VMware. Anyone can Install Ubuntu on Windows 10 / Windows11 computer by using this software.
Step 1:Install VMware on your Windows 10 / Windows11 computer by downloading it.
Step 2:Download Ubuntu ISO by visiting the official Ubuntu website. Downloading the LTS version is advised as it is more reliable.
Step 3:Install Ubuntu on VMware
- a. Click File > New Virtual Machine after launching VMware.
- b. Choose Custom (advanced) and proceed.
- c. Choose Use ISO image when prompted where to install the operating system. Next, choose the Ubuntu ISO file you just downloaded by clicking the Browse option.
- d. Using Easy Install, the Ubuntu system will automatically install VMware Tools and the guestOS once the virtual machine has been created.
- e. Complete Name, User Name, and Password should be entered in the Easy Install Information window. Ubuntu requires a username and password to be logged in.
- f. Give the Ubuntu virtual machine a name, then choose where to install it.
- g. Set up the CPU. Ubuntu requires a dual-core CPU running at least 2GHz, so be sure there are two processing cores altogether.
- h. Allocate the virtual machine’s RAM. It is advised to use 2 GB to 4 GB.
- i. Continue until the “Specify Disk Capacity” prompt appears. It needs to be at least 25GB.
- j. Continue to click the Next buttons until the Ubuntu virtual machine has been created.
- k. When the Ubuntu virtual machine powers on, the installation procedure will begin immediately. You just have to wait for the installation to be finished.
Dual-boot Windows10/ Windows11 with Ubuntu
Is Ubuntu compatible with Windows 10/ Windows 11? Absolutely, but not until Secure Boot is turned off. Here is how to simultaneously run Windows 10 / Windows 11 with Ubuntu.
Make an Ubuntu Bootable USB Drive
Step 1: Download Ubuntu ISO file and a burning application (such as Rufus)
Step 2:Get ready a USB flash drive that can hold at least 8 GB of data, then plug it into your system.
Step 3:Let Rufus run. Click Device and choose the USB drive. Click SELECT under Boot selection, and then select the Ubuntu ISO file that you just downloaded. While Windows 10 / Windows 11 is limited to UEFI and the system drive needs to be a GPT disk, make sure the partition scheme is GPT.
Step 4:Click Start while leaving the other parameters set to default. As soon as the burning process begins, confirm it and wait for it to finish. Then shut Rufus down.
Create an Unallocated Space for the Installation of Ubuntu You must set up a different unallocated area for the Ubuntu installation in order to dual boot Windows 10 / Windows 11 and Ubuntu. You may use Disk Management to decrease the partition and obtain the unallocated space if your machine only has one partition and also it has adequate free space.
Ensure that there is at least 25GB of unallocated space. However, Mini Tool Partition Wizard is superior if your machine has more than one partition. Multiple partitions can provide unallocated space for the free disk partition program. It can also clone hard drives, recover data from hard drives, and convert MBR to GPT without causing data loss.
Here’s how to use MiniTool Partition Wizard to obtain unallocated space
Step 1:Start the MiniTool Partition Wizard in step one. Select Move/Resize with a right-click on a partition.
Step 2:Drag over the arrow icons to reduce the size of the partition on the pop-up window under Size and Location. To move the partition, simply drag the partition block. This also modifies the position of the unallocated space. Click OK after that.
Step 3:Verify the partition’s arrangement, and then select Apply to carry out the action. To confirm the procedure, click Yes. The PC needs to be restarted if you have changed or resized the C drive
Install Ubuntu on Windows 11. To have dual boot Windows 10 / Windows11 and Ubuntu, you now need to adhere to the instructions below.
Step 1: Plug the bootable USB flash drive inside your computer and shut down your Windows 10.
Step 2: Turn on your PC in step two. Once the PC icon shows up, press the BIOS key to access the firmware. The PC icon screen should have the BIOS key at the bottom. If it’s not visible, you may also look it up online based on the model of your computer.
Step 3: Locate the Secure Boot option under the Boot or Security tab in the firmware, then make sure it is Disabled since this will stop Ubuntu from booting.
Step 4: To configure the USB drive as the boot device, select the Boot tab. Next, hit F10 to quit the firmware and save your modifications. You are presented with a number of options, and you must select Ubuntu. Ubuntu will examine the disc. Once the verification procedure is finished, the Ubuntu Install page will appear. To install Ubuntu, click.
Step 5: Select an installation method
- a.Select the keyboard configuration. Use of English (US) is advised.
- b.Select Additional Software and Updates. Preserve the default settings.
- c. Select the type of installation. It is advised to install Ubuntu in addition to Windows Boot Manager. Click Install Now.
Step 6: Partitioning the unallocated space will be done by Ubuntu. If you are sure you want to make changes to disks, click Proceed.
Step 7: Select the zone. This has to do with Ubuntu’s time display. Next, input both your name and the name of your computer. Select a username and a password.
Step 8: Ubuntu will start to install. All you have to do is bide your time till the installation is finished. When it asks, restart your computer. After that, you can take the USB drive out.
Change from Ubuntu to Windows10 / Windows11You should take the following actions to boot from Ubuntu:
- a. Turn on your computer, then navigate to the firmware.
- b. Turn off Secure Boot.
- c. Close the firmware.
- d. Opt for Ubuntu
To boot from Windows10 / Windows11, take the following actions:
a. Turn on your computer, then navigate to the firmware.
b. Turn on secure boot. You will get issues when Windows 10 / Windows 11 boots up if you don’t do this.
c. Close the firmware.
d. Select the Windows Boot Manager
Conclusion
To sum up, Ubuntu provides both experts and novices with a robust and easy-to-use operating system choice. Ubuntu, which has its roots in Linux, is known for its robust support for cloud computing and its interoperability with a wide range of hardware platforms. Users can set up dedicated installations or seamlessly integrate Ubuntu into their Windows environment by using the installation methods described in this article. For many years to come, Ubuntu guarantees a dependable computing experience with consistent updates and strong security features. So why hold off? Now is the perfect time to give Ubuntu a try on your Windows 10 or 11 computer.