If you are looking to download and install Git on Mac, it’s assumed that you have some basic knowledge and understanding of what Git is. However, it’s still important to review and summarize that information for clarity and concision.
What is Git?
Git is a widely used system for controlling versions. “Git” it’s a technical name that was coined by its founder Linus Torvalds in 2005. Ever since this system was developed it was looked after by Junio Hamano.
Who Benefits from Using Git?
Well, it’s quite obvious that this version control system is designed primarily for managing and monitoring source code, keeping track of who made those changes, and also enabling developers to maintain collaboration with other software developers syncing their system with other projects.
While this is true, Git is not exclusive to them. It can be beneficial for any project involving version control, including writers, designers, researchers, etc.
For example, when a writer decides to work on a novel in a plain text format and make changes in their work, Git helps them keep track of those changes that they have made and see when they have written what.
Another instance is where notable companies like Google and Microsoft use Git to help them manage their code which makes their work more efficient and easier by providing the space to promote and collaborate on their projects as a team.
What Makes Git Popular?
Even though lots of people use GitHub, it stands out because it’s fast and reliable. The cool thing about GitHub is that it lets you work together with others while not having to worry about messing things up or causing a catastrophe when you’re working and making necessary adjustments and fixing things.
It also allows you to share your work with teammates while they edit it smoothly without causing any issues. All of this is useful and possible thanks to Git’s easy way of handling files.
Its popularity comes from how many people in the open-source community use it, how quick it is, along with its flexibility and its special way of branching out different versions of your work.
This article will help you understand and guide you through the step-by-step process of installing GIT on a Mac.
How to Install Git on Mac?
Now that we understand the importance of this version control system, it’s also easy and possible to install it on your Mac device.
Of course, there are different approaches to installing git on Mac but there are also easier ways that you can try and once it’s installed, you’ll have the full experience and the power of Git at your fingertips.
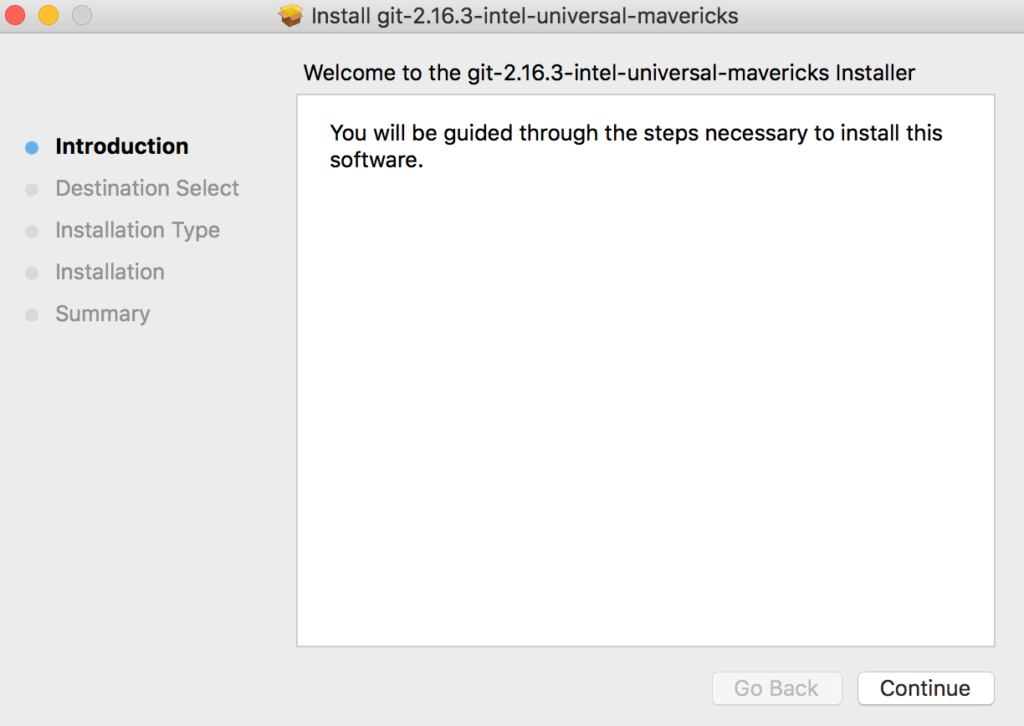
Step One: The important thing you’ll need for this installation process is a device running MacOS.
Step Two: Once you have made sure you have a working system ready for installation, you can open the terminal app, by clicking the Launchpad icon and typing “terminal”. When the app appears you can just click on it to open.
Step Three: Once the terminal app is open you’ll be able to install command line tools with just a single command along with Git. For example, “Xcode- select — install”.
This is an essential prerequisite for installing Git on MacOS.
You will be prompted to make sure that the installation is okay and then you’ll also be required to accept the license. This command will take a while to complete, so it’s necessary to let it run until you get your terminal window back.
Step Four: Once the installation is done you can verify if git is available by running the command “git –version” and press Return to check if Git is installed and display its version if it is.
However, it’s necessary to know that if Git is not installed yet, this command won’t work.
Congratulations! And with that, you can be able to use GIT on your MacOS device.
How to Install Git on Mac with Homebrew?
Homebrew is indeed a popular package manager for macOS, and installing Git through Homebrew is a common method.
Just like the installation process of Git on Mac, you’ll be using the terminal application again on your MacOS device. Once you get the app you can double-click to open it. When you have the terminal app open and running you can install other necessary tools that homebrew needs.
Since you have already installed or downloaded the Xcode’s command line tools, the next step would be to install homebrew. But there are cases where you don’t have to install or use Xcode.
To set up your homebrew:
Step One: For this process, you have to begin by installing a script and ensuring that it is executed properly. To do that you can simply use the following command:
/bin/bash -c "$(curl -fsSL https://raw.githubusercontent.com/Homebrew/install/HEAD/install.sh)" If you press enter, you’ll be able to execute the command. Once it’s done it will install the script into your MacOS Terminal.
Step Two: Before running the script that you have downloaded you have to check if the contents are correct and precise. Once you know for sure that the contents are right you can try to run the script with a different command called “bash”.
Step Three: When you have given the command, the script will prompt you to accept if you want to install it. In addition to that it will also explain what will happen if homebrew is installed to let you decide if you want to move forward with the process.
You’ll also be asked to enter your password for safety measures and you have to press the “return” key once you enter your password.
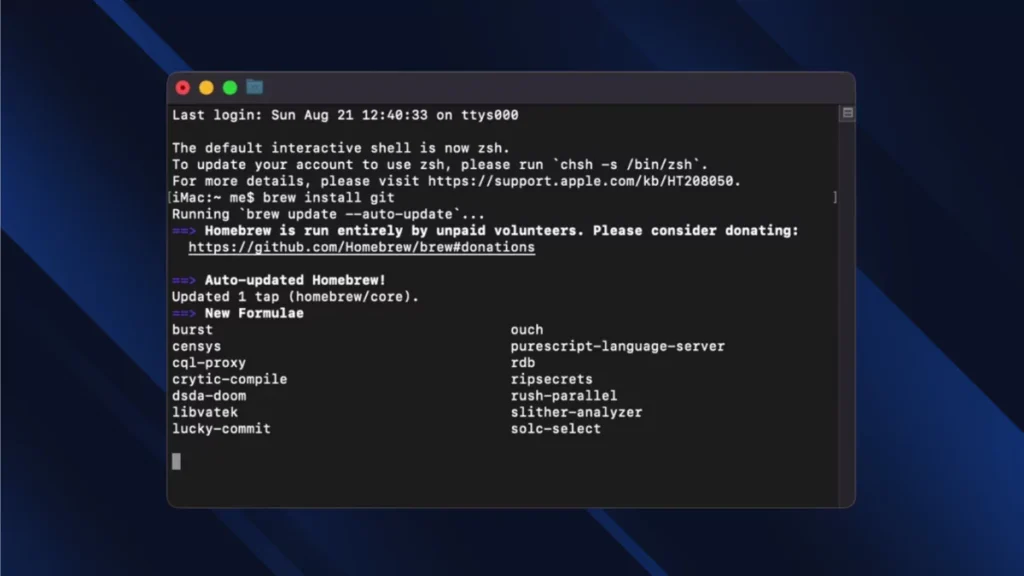
Step Four: When the process is completed and homebrew is installed you’ll be able to execute whatever command that you need to perform. And while that is done, you can get git by typing out the command “brew install git” and then you have to press enter.
Step Five: For you to check if git is installed correctly on your MacOS device, you can simply type out the command “git — version” and you have to press enter. By doing so you’ll be able to view the version of Git you wanted to download. And if you’re comfortable and it is what you wanted then you have the git on your device!
Step Six: Once Git is installed on your computer, it is important to set up the preferences that you have for your Git to make sure that everything runs properly and works well with GitHub.
This is like an introductory part for git, so to tell it who you are, you should first open up your terminal and type in these commands:
git config --global user. name "Your Name" git config --global user.email youremail@example.com This step is crucial for Git to attribute commits correctly to users, especially when collaborating on projects.
Just make sure that you add your real name and your actual email address to help git recognize your contributions correctly and you’re good to go!
Conclusion
This step-by-step guide should help you install git on your Mac quickly and easily. In case you face any issues during this process it is better to consult or seek help from any online forums that have good knowledge of git. If you are a Windows user you can follow our guide to install git on windows.